


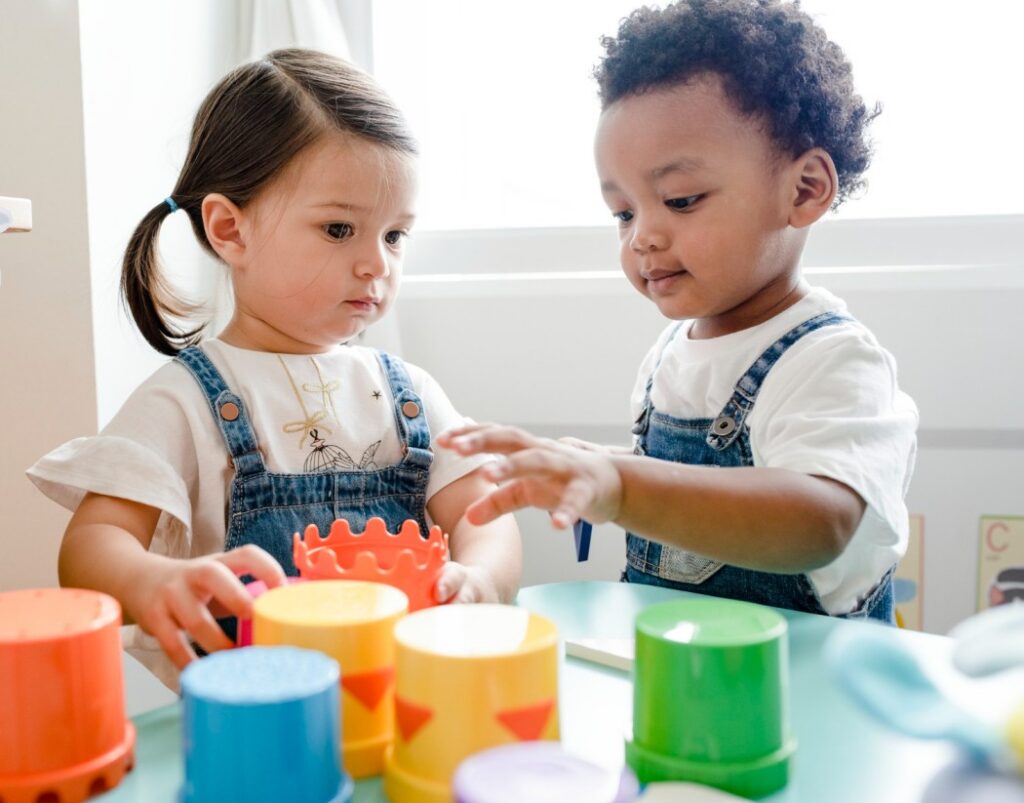
Mixed-age classrooms are a key feature of Montessori education and offer benefits that go beyond academics. Younger children learn by observing older peers, while older children strengthen leadership, communication, and responsibility by helping younger classmates.…
Child-led learning is more than a modern educational trend—it is backed by decades of research in child development and neuroscience. When children are given the freedom to explore their interests within a structured environment, they…
Many parents are curious about Montessori education but are often held back by common misconceptions. Some believe Montessori classrooms are too unstructured, only for gifted children, or don’t prepare children for the real world. In…
Every child enters preschool with a unique personality, learning style, and developmental pace. While some children quickly adapt, make friends, and enjoy classroom activities, others may take longer to adjust. Factors such as emotional readiness,…

Summer break gives children a much-needed opportunity to relax, explore hobbies, and spend time with family. However, long periods away from structured learning can lead to “summer learning loss,” where children forget some of the…
Choosing a preschool is one of the most important decisions parents make during their child’s early years. The right preschool should offer a safe environment, experienced teachers, a development-focused curriculum, and opportunities for social, emotional,…
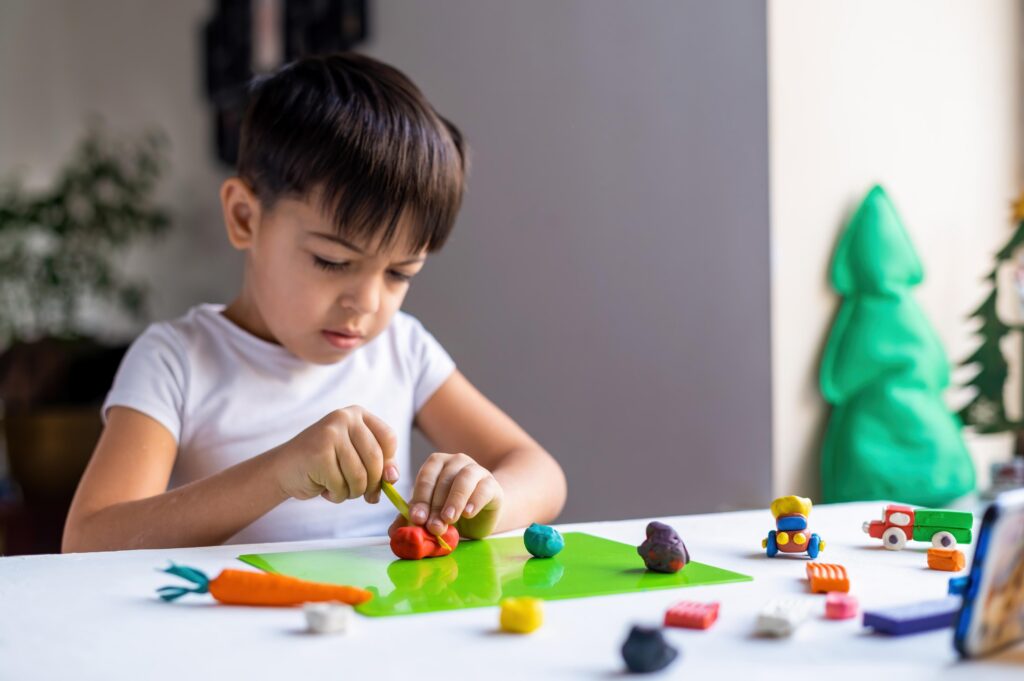
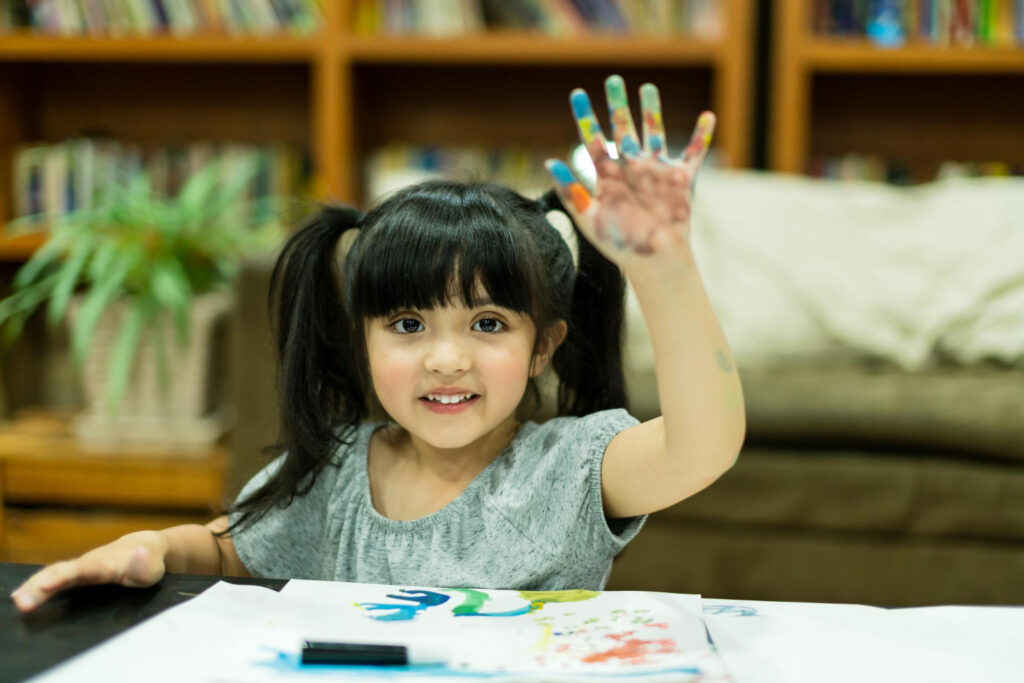
Practical life activities are one of the foundational pillars of Montessori education. These hands-on tasks, such as pouring, cleaning, dressing, organizing, and food preparation, help children develop independence, concentration, coordination, responsibility, and confidence. Beyond teaching…
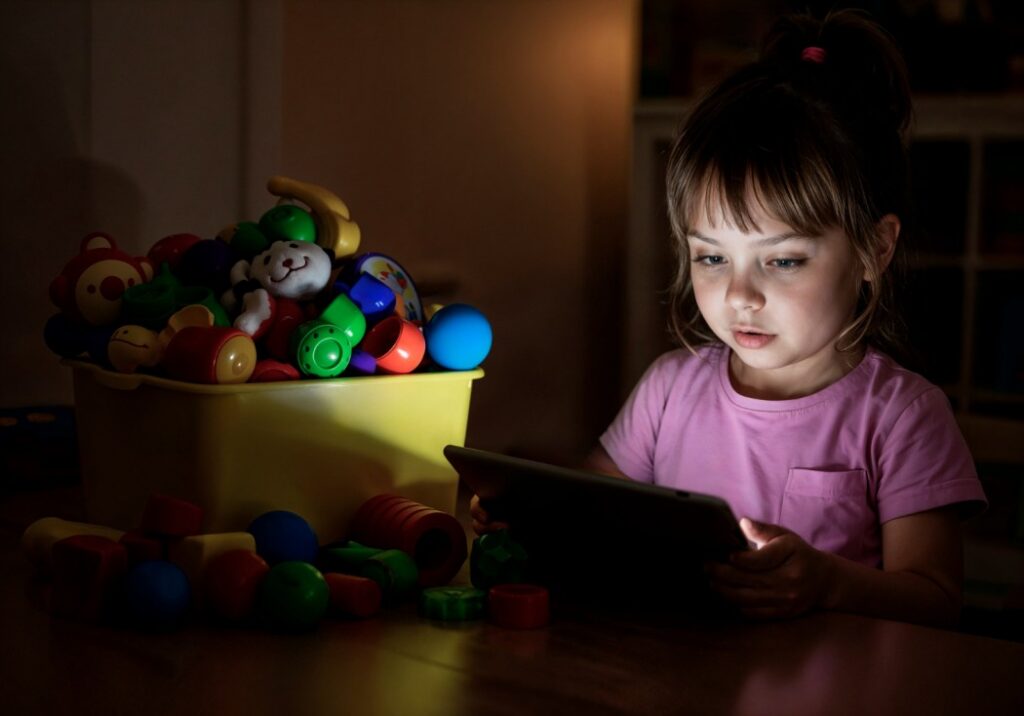
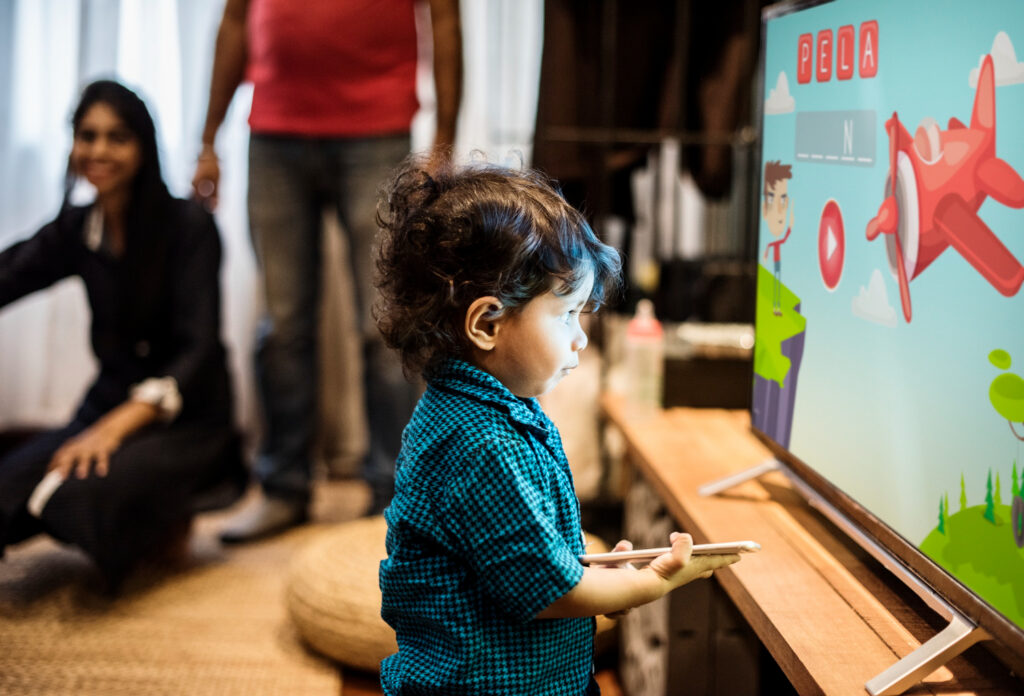
Introduction In today’s digital world, screens have become a major part of children’s daily lives. From smartphones and tablets to televisions and gaming devices, children are exposed to technology at an increasingly young age. While…

The preschool years are about much more than learning numbers, colors, and the alphabet. Early childhood is the stage where lifelong habits begin to form. The routines and behaviors children learn during these years often…